Stitch selection is accomplished two ways:
1.) A range of continuous stitches.
2.) A graphical section of stitches (lasso, rectangle, brush selection).
You can select a range of stitches by clicking an ‘Anchor’ stitch, and then use the keyboard to select additional stitches. (See the keyboard reference at the end of this section.)
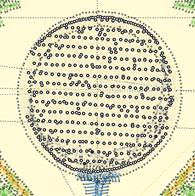
Here you can see that we’ve selected a range of stitches inside the golf ball, but we’ve skipped the satin stitches that go around the edge. If we hit delete on the keyboard, we can remove them!
Another way to select stitches is graphically. You can drag a rectangle or a lasso around stitches to select them. You can also use the Brush selection, which selects anything the cursor touches, or with the Ctrl key, the brush can de-select points. Selected stitches can be deleted with the ‘delete’ key or split using the ‘Split’ button.
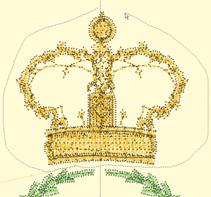
You can also select stitches for an entire object or design using the Object View. While in Stitch Edit mode, simply select objects in the tree and the corresponding stitches will be selected.
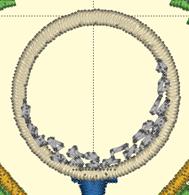
Left: Lasso. Right: Selected
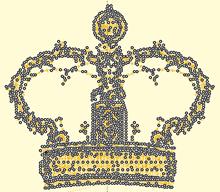
You can also select a single stitch by clicking on the line representing the stitch itself. Make sure no other stitches are selected first, and then simply click on a stitch line. The stitch point at the end of that line will select. This makes it easier to select a single stitch out of a jumble of stitches that may exist near each other.