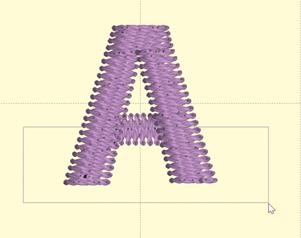
 Once
stitches have been selected, you can delete them or split them, To split them,
click the ‘Split’ button. This will create a separate design for the selected
stitches. It will also remove the stitches from the current design. If your
design is lettering or a Library design, this process will convert that design
to stitches so you will not be able to adjust that design the same as
before.


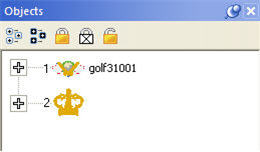
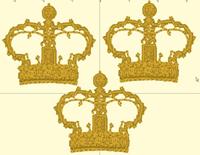
Above, the design has been split, and the crown was
copied and pasted.

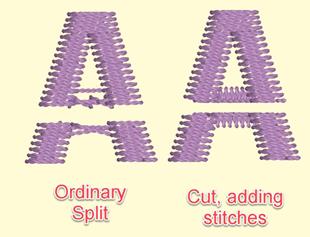
When splitting, no new stitch points are added. If
you want to use the selection shape you’ve made to actually cut the stitches,
which will insert new stitch points, use the second button to split the design.
This is useful for something like a pocket-topper where you want a clean line of
stitches instead of what might otherwise be a feathered-edge.


 Once
stitches have been selected, you can delete them or split them, To split them,
click the ‘Split’ button. This will create a separate design for the selected
stitches. It will also remove the stitches from the current design. If your
design is lettering or a Library design, this process will convert that design
to stitches so you will not be able to adjust that design the same as
before.


