Automatic outlining will create a shape that surrounds any stitches
on the design page. This is useful when creating stitches that will add to an
existing embroidery design that has been merged onto the page.
Automatic outlining will create a shape that surrounds any stitches
on the design page. This is useful when creating stitches that will add to an
existing embroidery design that has been merged onto the page.Automatic outlining will create a shape that surrounds any stitches
on the design page. This is useful when creating stitches that will add to an
existing embroidery design that has been merged onto the page.
Automatic outlining can also be used to create an object hole. The purpose for this is for quilting designs. You can merge a design or create an interior design with objects, then make a new outline in some larger shape, for instance a quilt block, or your hoop. By adding a hole to that shape, in the form of the current stitches on the page, you can create a stipple, or an echo perhaps, that will surround those stitches and fill the block.
The automatic outlining can be combined with Inflation to allow room around the stitches, for quilting or other purposes. For example, there is a feature elsewhere in the platform that automatically creates knockdown stitches for sewing on terry by first creating an automatic outline, then inflating it slightly, and adding a light fill.
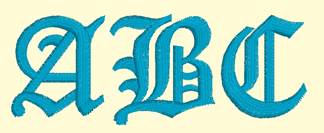
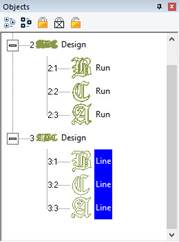
Here’s a quick illustration in use, starting with a basic monogram:
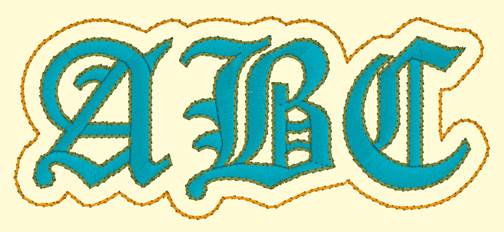
Now we will automatically outline it and set those new objects to a backstitch, made green.
Let’s try a few more steps for fun:
Copy the outlines that were created by the Automatic Outline tool:
So you should see this.
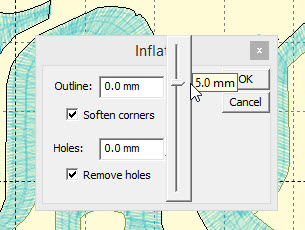
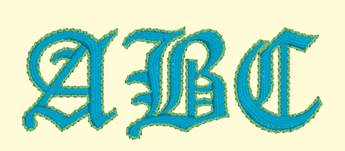
Use the Inflate button  to create echoed outlines of the letters.
Note the ‘Remove holes’ option is turned on. We are using a 5mm
inflation.
to create echoed outlines of the letters.
Note the ‘Remove holes’ option is turned on. We are using a 5mm
inflation.
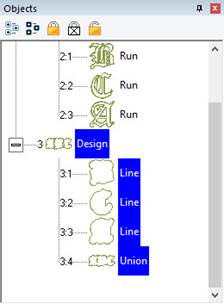
Add a Union. Next, delete the individual ‘Line’ objects, as we won’t need them anymore.
Select the Union and use the menu ‘Create->outline->delete holes.’
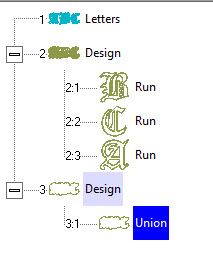
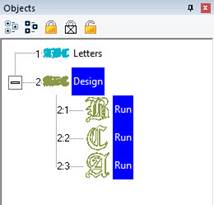
Now add a run to the Union, change style, color, etc.