Embossing patterns can be either open or closed shapes, but they will be used differently depending which they are. Open shapes are used as repeating carving lines in a normal fill.
Closed shapes will have the fill stitches that lie internal to the shape removed, unless that makes for an extra-long stitch. The effect of closed shapes in a fill is that of satin areas within the fill, and those provide dramatic relief from the fill stitching; almost a trapunto effect.
In order to ‘see’ more of the embossed pattern, keep its size within the realm of your stitch length or smaller – typically 3.0mm - 5.5mm.
Embossing patterns are done with Line objects, as stitches have no effect in the design. Also, you do not have to worry about transits, overlap, and color or anything but the shape that is your desired result.
Emboss patterns are shapes that intersect the existing stitches thus causing a needle-penetration. When the shape is parallel to the stitches, it may not intersect; hence you can have sides of your shape that do not create stitches. This is usually overcome by adjusting the inclination angle a little bit, or rotating the emboss pattern, so that more intersections occur.
Keep in mind what your emboss pattern will look where its pattern will set next to a copy of itself; the design’s right edge shape will interact with its left edge.
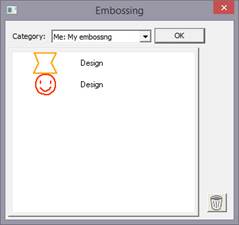
When storing emboss patterns, you will be saving them on your system for use in the future, but when they are used within an object, they are also stored in that object. This means that if you edit the pattern, the object won’t be updated – you’ll need to remove that pattern from the object that’s using it, and re-add the new version.
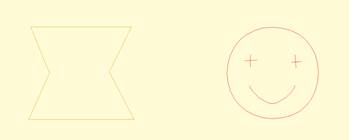
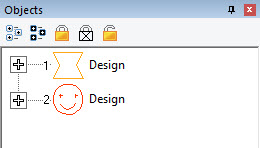
Let’s go through the process. Here we have drawn some line art in two designs.
Next, we have a shape with a fill, and we’ll add an embossing:
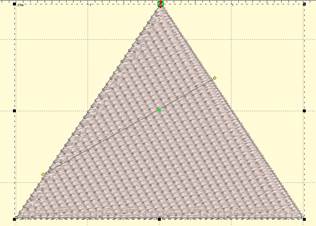
Notice the angle of inclination to cause more intersections in the result:

Artwork drawn in the program can be exported as a vector file in .svg format and for popular cutting machines. Use the menu ‘File->Export’ to save the artwork. This is not the same as the applique functions to save cut-files (located on the Applique tab of the Color Window). Those outlines are processed to directly cut an applique. The files saved when Exporting are the objects as-drawn.