Motifs are used in Motif Runs and Motif Fills. The motif itself is a design, and can contain any number of Manual, Run and Satin objects, although usually a motif is a singular Manual stitch object. Naturally, a motif cannot contain another motif.
Motifs run left-to-right, by convention in the system. They do get reversed when needed during a fill, but we start with a normal orientation. A motif’s first point and its last point should line up – or rather, they will when used so you might want to consider that as you draw one.
Motifs use the vertical position of the initial and final points as a baseline, like a letter would. The baseline is how much above and below the line the motif will sit.
Manual points are mostly used in motifs, especially since Runs will calculate, and the points where a needle will land are unpredictable when the user is in control of the size. This is doubly true when going around tight curves, where small changes in size will very much affect the position of the stitches.
You can use satins to make a motif, and the satin will generate for the size used in the Motif run or Motif fill. It is generally not needed to use any underlay in the satin, although you can.
Normal motifs are fairly small, typically 2-4mm, so as to be used in a Motif Fill with a reasonable number visible, but they can be large, if warranted. You may want to make a motif that represents a particular client logo, and embed that in the background of a fill in a larger design.
When storing motifs, you will be saving them on your system for use in the future, but when they are used within an object, they are also stored in that object. This means that if you edit the motif, the object won’t be updated – you’ll need to remove that motif from the object that’s using it, and re-add the new version.
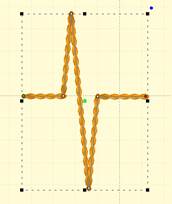
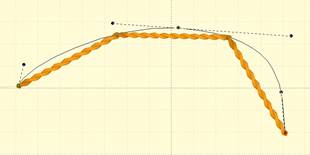
Let’s create a motif by drawing a shape and setting its type to Manual. Note the first and last points are on the baseline.
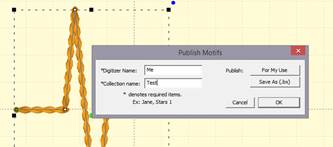
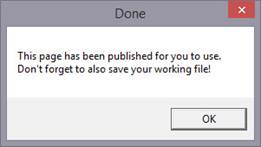
Now we can publish it (along with any other designs on the page). Click ‘For My Use’:
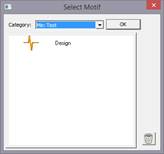
Now, let’s start a new Motif object. Click Add on the Motif property and select the motif:
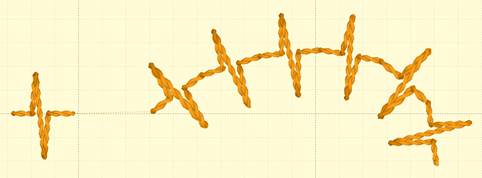
The motif, along with the result: