Registration describes the effect in areas where two or more objects meet at their edges. If the objects stitch tightly up against each other so that there is no background color bleeding through, the registration is considered ‘tight’ or correct. As a design is being created, it is worthwhile to think about registration – you can add overlap to your shapes or add compensation which could save you time later when you edit the design.
Switching fabric, project types or even machines and hoops will affect the registration of any design. This is why you often hear that digitizing for hats should be done by a professional – the registration issues compound. The verb ‘compound’ here means that each object that sews will affect the location that the next object will sew. This happens because the fabric gets distorted a little bit for each and every stitch. What you see on the computer screen does not include the distortion that occurs during stitching.
How do you fix it?
You will have to do the same thing that people before you have done; sew, edit, sew, edit, sew until you see the result you need, then try to remember what you did the next time you create a design. It’s a process that gets much easier once you have some real experience, and the only way for that to happen is for you to do it.
Registration issues come in a couple common forms when digitizing.
1.) Outline stitches are separated from filled areas.
There are some tricks to making outlines register. The easiest is not to use them. This is a design style issue, and we see through the years that designs will sometimes come with a double-stitch or bean-stitch outline around everything. There is no rule that says you need to do this. Only use outlines where it is important to make the artwork appear crisper.
Another way to help outline stitches is to give them more body; a bean stitch will work better than a single or double run. A backstitch or stemstitch is wider and therefore naturally going to ‘hide’ any registration issues easier.
When creating the outline, place your points slightly inset into the stitches that they surround – perhaps only half a needle-width 3-4 stitch points for your first try. All fills and satins tend to ‘draw’ the fabric in because of tension, and the thread has to curve down toward the fabric where the needle penetrates. This causes the outline stitch to be pushed away. Therefore in-setting the outline, if only slightly, will help the result.
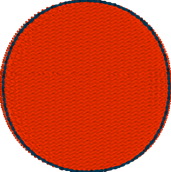
In the above image, notice that the inset of the darker-colored run is greater at the sides, and almost perfectly aligned at the top and bottom. This is because the fill will sew ‘narrower’ along the inclination – each line of stitching wants to pull the fabric in.
At the top or bottom, whichever stitches later, you may see the fill (or more typically a satin) ‘push’ or get ‘taller’ before the run happens.
2.) Adjacent filled areas pull away at the ends of the stitch lines.
When a line of stitching ends, be it from a fill or a satin, there is tension that pulls the fabric in the opposite direction of the line. This means that a fill or satin tends to sew ‘narrower’ than the object was drawn. We do use the compensation setting to help this – it makes the ends of the stitching a little bit farther out past the edge of the shape. It helps, but sometimes that’s not enough, especially where two fills or satin edges meet.
Solving this usually is done by overlapping the object shapes. The shapes can overlap quite a bit sometimes if there is compound registration from more than two objects all positioned at each others’ edges.
If there is an edge-run in each object, for underlay or travel purposes, sometimes you can use it as an ‘anchor’ for a subsequent object; move the outline so that it overlaps just to that edge-run and has some needle penetrations that grab it. This tends to balance the stress on the fabric between both adjacent objects.
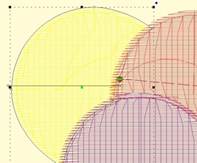
In the image above, you can see the earlier yellow object has its outline inset ‘under’ the red and purple objects, which allows for a degree of freedom of movement while it is being sewn. The other objects will not overlap as much as it appears on screen.
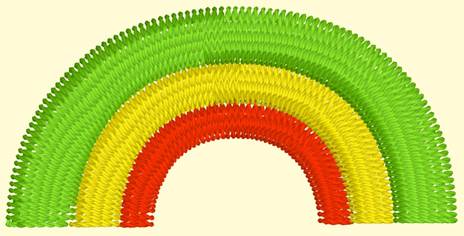
Oh, look, a rainbow, how nice! No. No, it isn’t. This is a perfect example of compound registration at work and you will not be able to sew this consistently.
The red, then yellow, then green sew in that order. It sounds right. But the gaps you see when you sew will make you wonder if you should take the machine in for repair. This will probably work better going outside-in with the green, then the red, then the yellow, and don’t be surprised to have the green and red objects nearly touch each other in the middle under the yellow.
Do not do it like this:

Rather, more like this: