Now you can combine designs and have them overlap! In the past you could not do this because the area where they overlap would have too many stitches. This tool can automatically find those overlapped areas and cut out the stitching underneath so that the design can sew flat!
Here’s a great example for the use of this tool:
Suppose that you want to create a drop-shadow for text. Duplicate your text, and change the color. Then position the top color slightly up and to the left. Remove Hidden Stitches to flatten the result so that it will look nice and sew easily.
What about areas that were digitized without ‘hole-sewing’ mode turned on?
Say an area of color has another color sewn in the middle of it. Remove Hidden Stitches will ‘flatten’ the area under the second color by converting the hidden area to a satin fill. This makes it less difficult for the needle to penetrate the fabric as the top color is sewn.
In some designs more than one color is used to create padding stitches for the entire design. In this case you will want to turn the “Keep Padding Stitches” feature on in the Preferences Window. These stitches are technically hidden and will be removed otherwise.
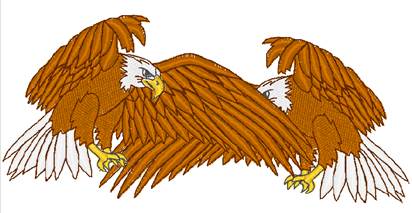
Maybe you want to do
this. But the first eagle’s wing is a problem:
The under wing needs to be removed. Select Remove Hidden Stitches to remove the under wing of the eagle:
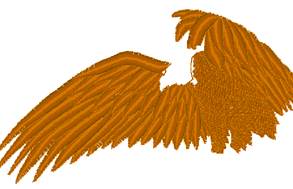

Your design is ready to sew. (And it will!)
Note: This is different from removing hidden stitches created by overlapping separate designs, such as in a composition. This filter works within a single design.