
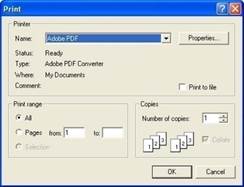
A design template showing the design at full size and with registration marks can be printed. Just choose print from the File menu.
On the left are common options for printing templates. This includes 3D and crosshairs that mark the center of the design for hoop placement. Also, you can choose not to print design information (Design Only).
Several options have been included for use with Applique. See the Applique section for images and a description of using the Applique.
‘Selected Colors only’, can be used with machines that will scan and cut. By printing only an outline you could make it easier for those machines to scan the shape you need.
When printing an applique for hand-cutting you probably want to turn the ‘Print Applique Outline’ mode on so that you have a clean dark line to cut on.
The ‘Print Stitches’ option may be turned off to print a background image, for use with creating a photograph as an applique via printable fabric or transfer fabric. There, you want to print the image, not the stitches that will be applied over top.
‘Print Applique’ is a setting that turns on printing of a selected Simulated Fill or photograph (on the applique tab of the Color Window.)
‘Mirror’ is useful for transfer paper as the image will be reversed.
‘Print Color Sequence’ adds a separate page with all the colors. See the following images:
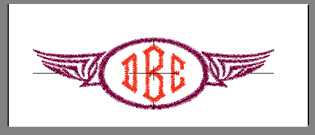
The template can be previewed before sending the output to the printer. Below is a sample template with a monogram surrounded by a frame. Note the registration marks.
The second page of the worksheet displays size, stitch and color counts, and a list of the colors used in the design with approximate thread requirements.

Printing preferences, found in the Program Preferences window.