The Platform has been enhanced with a special utility to configure and communicate with some embroidery machines wirelessly using a Toshiba FlashAir III (or higher) WiFi SD card. Note: Other WiFi-SD cards (including Toshiba FlashAir II) do not work and are not supported.
Your embroidery machine with a SD card slot can be used wirelessly by first configuring the FlashAir card and then inserting it in the machine. When powered up, the card in the machine allows you to send designs to it from your program.
The first step is to run the Platform program and use the menu ‘Help->Serial Numbers’ to add your serial number for the wireless machine compatibility. This serial number is provided when you purchase the card and software from your dealer.
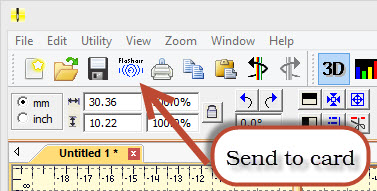
Once you have installed the serial number and restarted the Platform you should see your new icon on the main toolbar:
To configure the card, it will take a couple simple steps:
1.) Insert the FlashAir SD card into the USB carrier provided with the card. Then insert that into your computer’s USB slot (It doesn’t matter which one.) When you insert the USB-SD carrier into your computer’s USB port, the FlashAir setup dialog will appear:
NOTE: You can also run the configuration of the FlashAir via the Platform’s menu:
‘Utility->FlashAir->Configure’ as long as you have the FlashAir card in the USB-SD carrier and the carrier is in the USB port of the computer.
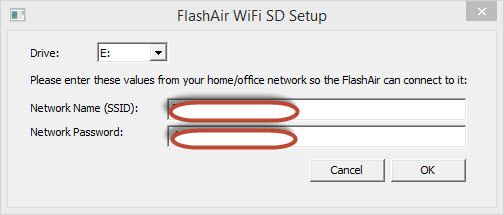
2.) The setup dialog will show you the Windows drive letter that the USB-SD carrier is currently using. In the unlikely event that you have more than one, you can select it here.
What’s important for you to enter is the network name (SSID) and password that you use to connect to your WiFi internet in your home (or office, wherever you are). This is the same information your laptop, phone or tablet would use to connect to your internet. By entering this information, the FlashAir card can join your local network so you can communicate with it.
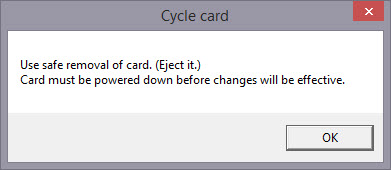
3.) Once entered, click ‘OK’. Now the program saves this information and configures the card for the sole purpose of machine embroidery. The program will then let you know it should be removed safely:
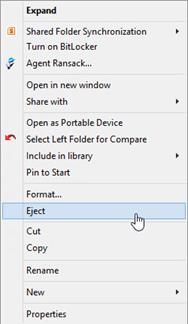
To remove the card safely, open Windows File Explorer (a.k.a. ‘My Computer’ or ‘Computer’ on older systems.)
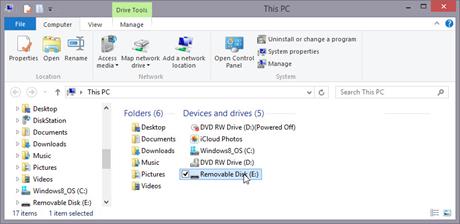
Right-click on the drive that represents the USB-SD carrier and ‘Eject’ it.
Note: You may get a note like this:
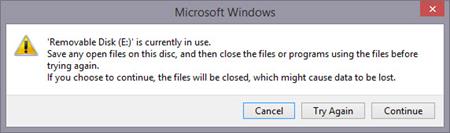
It is okay to click ‘Continue’ at this point.
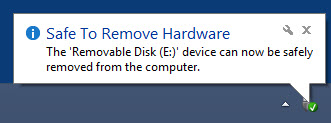
You should now get a pop-up message in Windows that tells you the drive is now safe to remove:
4.) The fun part now begins! Remove the USB-SD carrier from your computer and remove the FlashAir SD card from the carrier. Take it to your machine. Usually there’s a little cover that opens to reveal the SD slot. It should be near or above the USB connections for your machine, but if you can’t find it, please consult your machine reference manual or ask your machine retailer for guidance on the machine.
•Make sure the machine is off.
•Insert the FlashAir SD card into the machine SD slot.
•Turn the machine on.
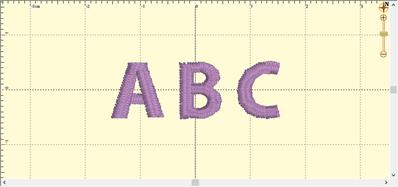
5.) Now let’s go back to the program and create a test design.
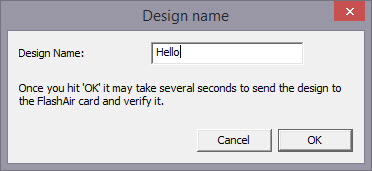
Now click the ‘Send Design to Card’ icon on your main toolbar! A dialog will pop up asking you to name the design.
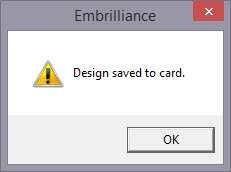
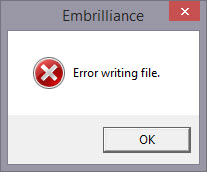
The process of sending the design to the card make take several seconds, and it may fail if the card is not connected to the network properly. Please wait while the process completes. You will get one of two messages back:
Or
For now, let’s assume everything worked and your design is on the card. You can go to your machine and verify it by selecting the SD card from the Embroidery menu on the machine. Again, if you have questions about this, please consult your machine retailer or the manual.
If this step fails, there are a small number of likely scenarios:
1.) The card is out of range of your network. The card is small and doesn’t have as much power as your laptop, so it needs to be close to an access point or the internet router itself. It needs a good signal.
2.) The network name (SSID) or password that you used are incorrect. You can check those with any other device such as your computer or phone to make sure you have the information accurate. It is important to use the correct case (upper/lower) always. It is also best to type it in as opposed to copy/paste as some systems can paste hidden character formatting.
3.) Remember, the machine must be powered up!