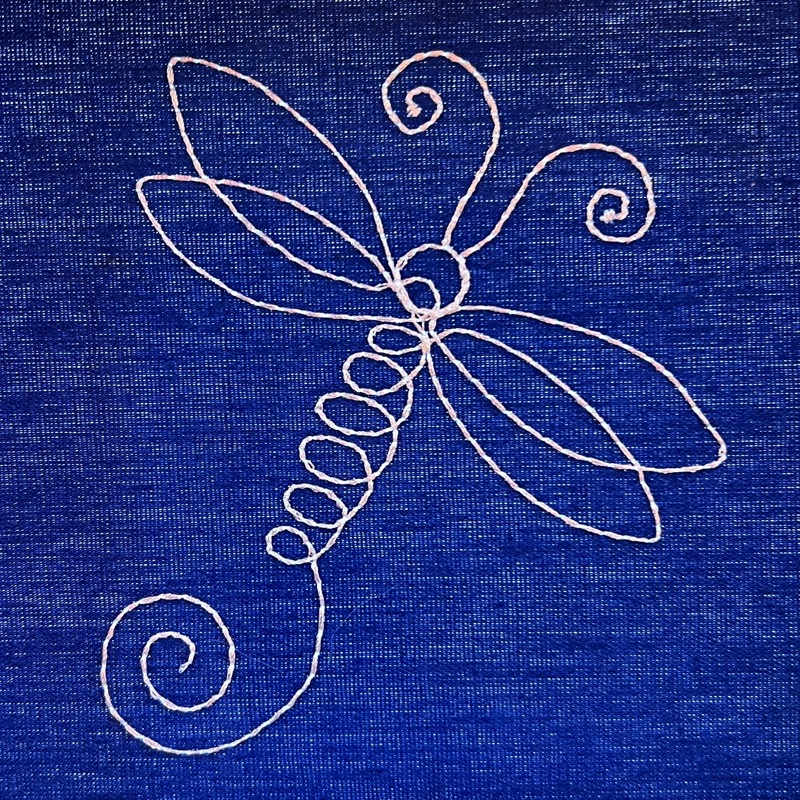

Warmer temperatures are heading our way, which means the outdoors will soon awaken, becoming more lively and vibrant. For our friend Lisa, this brought to mind the beautiful dragonflies so important to the ecosystem of her Colorado home. As she planned her spring planting for the bees and hummingbirds, she imagined the return of the many sights and sounds of nature, singling out the dragonfly for this lovely free embroidery design! This one-color, quick-stitching, swirling dragonfly design looks lovely in a tone on tone color scheme, enhancing even as a background element, but can easily be stitched in contrasting or metallic threads to add a whimsical bit of line or sparkle to any apparel.

What can we learn from the Embrilliance Status Bar?
While creating her dragonfly design, Lisa realized how the ever-changing Embrilliance status bar comes alive to give you important information. With that in mind, she couldn’t help but share the wonderfully useful data that the status bar reveals. Following are some of the things the status bar can tell us about our designs.
Needle Count and Color
Starting at the far right as indicated by the green arrow in the above graphic, we see the number of Needles/Colors in your design. This design was digitized with multiple connected objects of different stitch types as shown in the object pane. However, because they are connecting and in the same exact thread brand and color number, when the stitch file is saved and sent to the machine, it will output these elements as one color stop.
Stitch Count
To the left of the needle count, as indicated by the blue arrow in the above graphic, we see the number of stitches in the design or current selection. When nothing is selected, you see the number of stitches in the entire design. If you resize this design, the number of stitches will change automatically. In fact, because this is a native design digitized in StitchArtist and provided as a .BE working file, the objects regenerate their stitches precisely according to the settings set during digitizing in StitchArtist. This is why you can resize this particular design in Express or Enthusiast and see the stitch count will change, despite Express and Enthusiast not having access to the stitch processor used to resize machine-formatted stitch files in Embrilliance Essentials.
Design Size
Finally, as indicated by the purple arrow in the image above, we see the size of the entire design or selected items. When nothing is selected, this will show the size of the entire design. In the image above, the size is shown in metric measurements as that’s what Lisa had set her software to display. Embroidery digitizers often work in metric measurements as they are more exacting and relate to the way embroidery density is measured, but many embroiderers prefer the more familiar, though less accurate, inches or imperial measurement when describing the size of designs. If you can’t seem to decide which one is more useful to you, there’s a wonderful way that ‘Power Users’ can bridge the gap between measurement units. Simply move your mouse pointer over the measurement value in the status bar and double click to instantly switch the display between ‘inches’ and metric measurement. Now you have the best if both measurement types at your fingertips!
The design is provided in our native .BE format, enabling you to save a stitch file for any embroidery machine. If you aren’t already an Embrilliance owner, we provide a free method to use our software called Express Mode. It will not only allow you to use any of the wonderful free designs found in our project blog, but also lets you install and create basic text treatments with fonts distributed in our popular .BX format produced by many embroidery design creators.