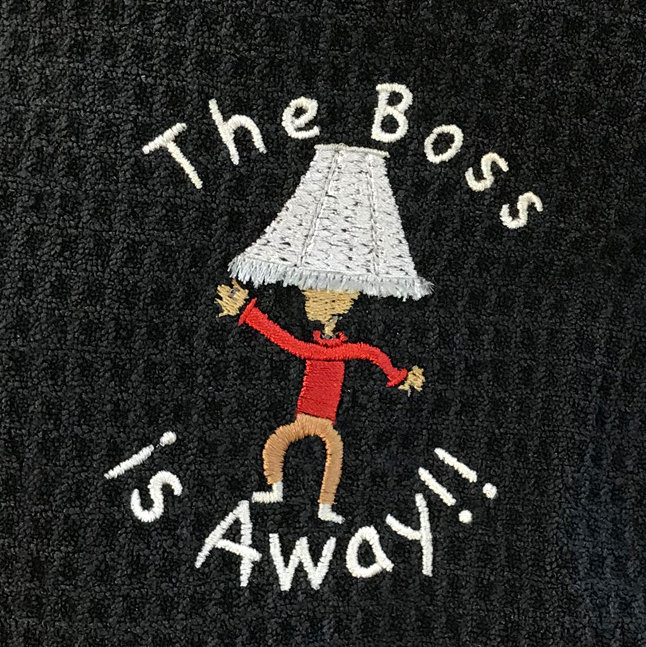
This started as a little bit of a joke when Brian went on vacation, but after digitizing and sewing it out, our own Jim decided he just had to put this on a golf towel. He decided that “The Boss” has a lot of different meanings and hopes that you and whoever it is that fits the bill in your life will find this design as funny as he did. Jim digitized this design using StitchArtist Level 2, adding the text in the Elementary font you can find in our Font Collection 1. This file is saved in the .be which will allow you to make changes and add text to suit your reason to party.

Sewing Instructions
This design uses several different stitch types including running stitches, fills, satin stitches, and fringe. All of these tools can be found in StitchArtist Level 2.
This design is intended for machines with a 100 X 100 mm (4″ X 4″) hoop or larger. Jim stitched his on a golf towel purchased from a local big box store, hooping the piece with a single layer of tear away stabilizer.
This design uses fringe, but you can choose whether or not to stitch the fringe. Without editing, you can simply skip the last color before the letters to leave off the fringe detail. As the design has a small column stitch under the fringe, it will still look complete without the additional accent.
How to free the fringe:
You will need is a good pair of sharp scissors with a sharp point to easily access the fringe.
There are two ways to cut fringe, the first will result in a cut fringe with free cut edges, whereas the secont will result in a looped fringe.
To create the cut fringe seen in these samples, carefully slide the scissor tip into the fringe column on the face of the design and cut the top stitching free at the lower edge. Take care to cut the stitches as close as possible to the bottom edge, working steadily from one side to the other. After that, turn the piece over and work the bobbin thread from the fringe column loose using the tip of the scissors. You can then cut the bobbin thread to smooth the back of the design.
To create the loop fringe, cut the bobbin thread of the fringe column from the back of the design. Find the fringe column and carefully cut the bobbin thread in the middle, avoiding the colored top stitching that pulls through the piece. With the bobbin thread cut, turn the design over and carefully pull up the top thread to free the loops.

The design is provided in our native .BE format, enabling you to save a stitch file for any embroidery machine. If you aren’t already an Embrilliance owner, we provide a free method to use our software called Express Mode that will not only allow you to use any of the wonderful free designs found in our project blog, but also enables you to install and create basic text treatments with fonts distributed in our popular .BX format produced by many embroidery design creators.
To learn more about Embrilliance Express and for the instructions and links you need to download, install, and use our software with our free project files, please click here.
