
Patches are a fun way to add customized embroidery to any item! They can be stitched on by hand or machine, or adhered with various adhesives (including a hot glue gun, in some instances!), but no matter how you attach them, they can make decorating apparel easier and on trend. For those using home, flat bed embroidery machines, stitching on a structured ball cap can be the equivalent of getting a root canal (with apologies to our dentist friends who always get a bad rap). Luckily, embroidering a patch can be as simple as stitching a one piece applique. Stitching patches makes decorating hats, and pretty much anything else, as easy as applying the proper adhesive and sticking the design to the garment or accessory you want to decorate!
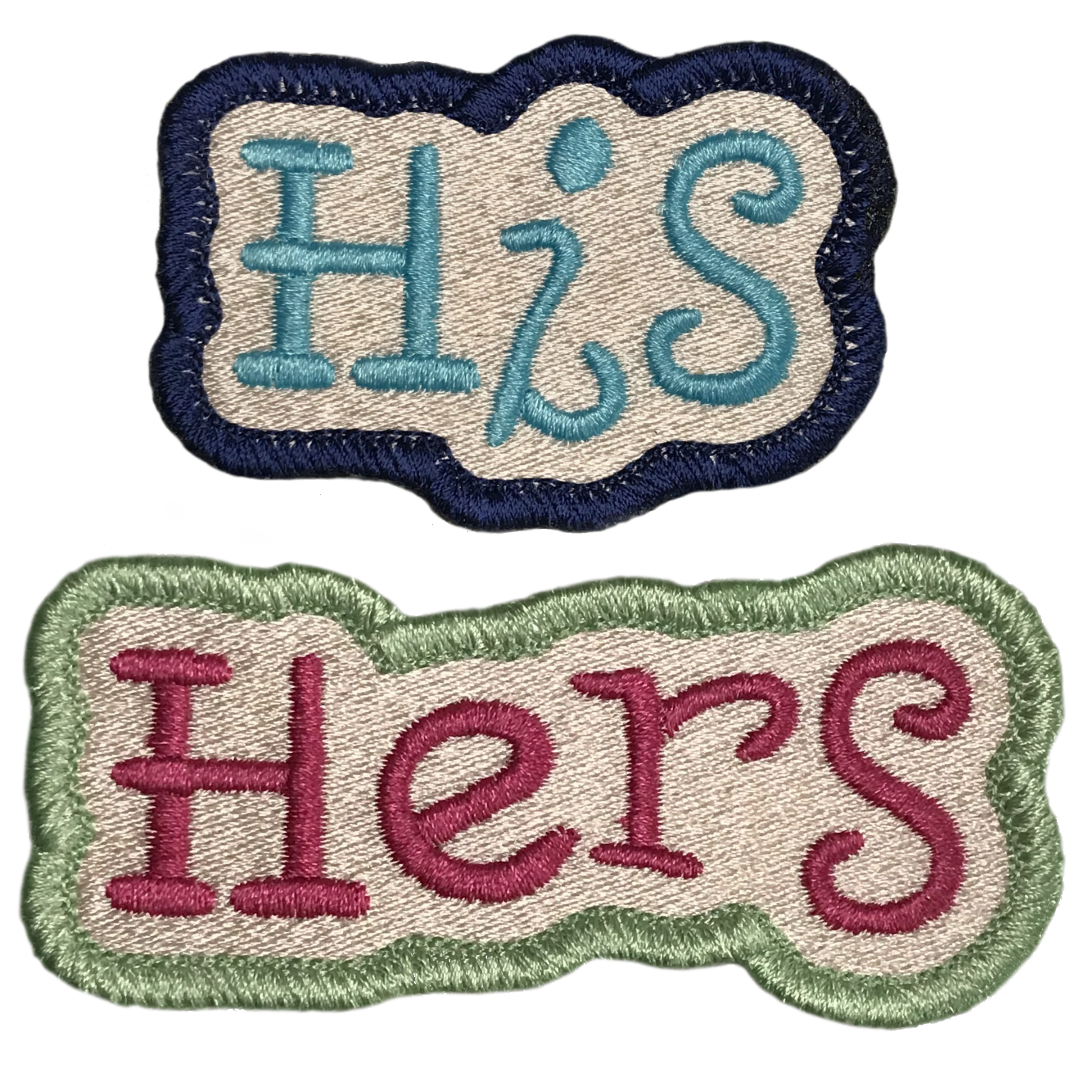
In StitchArtist Level 3, the Edge tool gives you the power to create your own overlock-styled edging for patches. We thought it would be fun to share a couple of sample patches that use the new Edge tool, so we created some fun His and Hers examples using the object-based Reggae font from Font Collection 2.

You can make patches any number of ways, like cutting the patches from spanned fabric, using a hand-cut, applique-styled method, or using precut fabric shapes on film or soluble stabilizers. We wanted to make things easy, so the BE file provided, uses the Edge function’s ‘Create Using fill’ option. This allows you to stitch the patch background entirely with thread, meaning these designs stitch full coverage on polymesh cutaway stabilizer, often known as soft and sheer or no-show mesh depending on the source. The examples below were run on a single layer, trimmed closely, and finished with heat for a smooth edge.


The BE file that provided has 4 colors for each patch. Color #1 is an Applique position – if you want to stitch this patch on twill and cut the finished piece, use this color break to position your material. Color #2 is a free standing fill. If you are using material you can skip this break. Color #3 is the patch overlock-styled edge color and Color #4 is the His/Her lettering. This information is for those who do NOT have StitchArtist Level 3. If you have StitchArtist Level 3, you can customize the edge settings, or simply use these designs as a guide to create your own patch!
The design is provided in our native .BE format, enabling you to save a stitch file for any embroidery machine. If you aren’t already an Embrilliance owner, we provide a free method to use our software called Express Mode that will not only allow you to use any of the wonderful free designs found in our project blog, but also enables you to install and create basic text treatments with fonts distributed in our popular .BX format produced by many embroidery design creators.
To learn more about Embrilliance Express and for the instructions and links you need to download, install, and use our software with our free project files, please click here.
Thank you for the awesome His Hers patch designs
Thank you these will be great on towels.