
This project idea shows how to use the Align & Distribute functions in Embrilliance Essentials. Using a free sketch style apple design, you can see how to line up design elements and then evenly space these elements without using grid lines or trying to “eyeball” that the elements are even. A zip file containing the design and PDF instructions are provided!
You will want to download and unzip the files to your computer. We provide you with the BE working file of the sketch apple design, created by Lisa Shaw using StitchArtist. If you have StitchArtist, you will have access to all of the objects when you go to Create Mode. The sketch is a gradient fill which is part of StitchArtist L2 and you can view the fill stitch properties to incorporate this style in your own designs.
Click here to download the zipped file
Also included in the zipped file is a PDF with instructions on how to use your Embrilliance Essentials to create this design layout.
Another technique used in this software project is using the Group function. The Group function found under the Edit menu determines how selections are made in the DISPLAY pane. When you open a Design, by default it is “grouped”. You can click on the design in your design page – click on any stitch of the design, it doesn’t matter what color – the ENTIRE design is selected so that you can move it around the hoop. This is NICE because you can’t accidentally muck up a design by moving the outline or another single color.
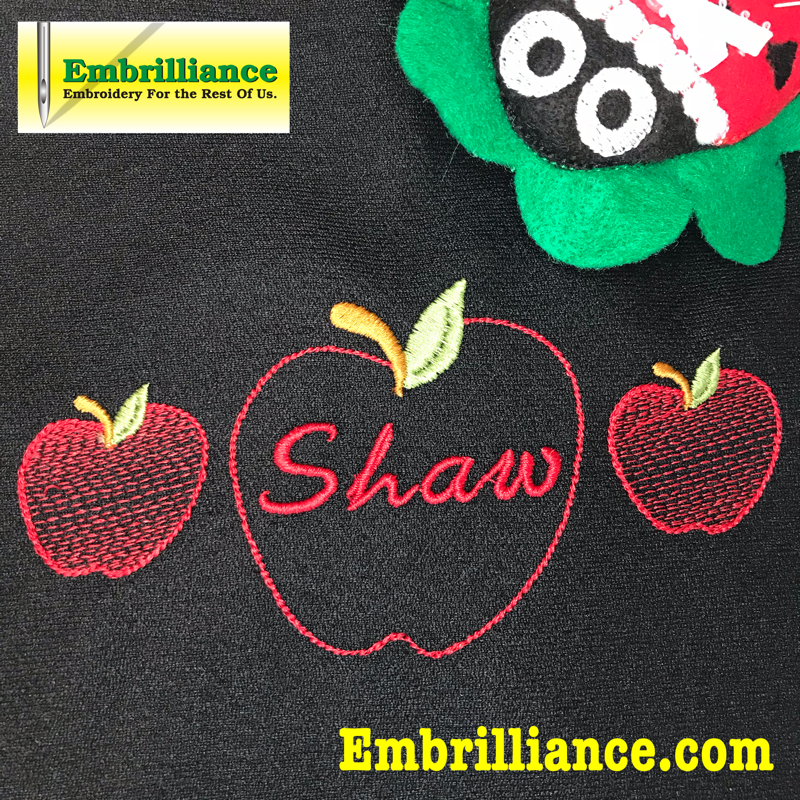
Once we add the name to the apple and have it placed inside the apple where we want it, we don’t want to accidentally move one or the other. We don’t want to have to remember to select both in order to move them. We also intend to align and distribute the designs in our hoop, so we want the software to treat the “Shaw apple” as a single unit. This is done by grouping the two design objects. Once grouped, you can click on Shaw or the apple in the display pane and both will be selected. You can still select them individually in the object pane – the group/ungroup only affects how things are selected in the display pane.
As an added bonus, we have created a companion video to this project. It is available on our YouTube channel – be sure to subscribe to our channel so that you are notified (by YouTube) when we upload new videos!
We hope you enjoy this design and project instructions!
We would love to see your creations using this design OR using the techniques of this project in your own creations!! Click here to send us your photos of your projects to have them featured in the Embrilliance project blog! Enjoy!