

Barbecue season is in full swing, what better time for us to post a hot design you can stitch for the master of your family’s grill? This high-impact embroidery uses 3D ‘puffy’ foam to create a dimensional look your outdoor cook will crave. Whether you stitch it on an awesome apron, shirt, or other BBQ accessory, make sure that you choose something sturdy enough to hold up to the dense stitching that makes this three-dimensional foam design pop!

Our friend Lisa Shaw digitized this ‘Grill Master’ design using Embrilliance StitchArtist. The automated 3D foam setting you can apply to any satin column is a feature found in StitchArtist Level 2. The connected letters have a connected, branched underlay, created using the Branching feature found in StitchArtist level 3.

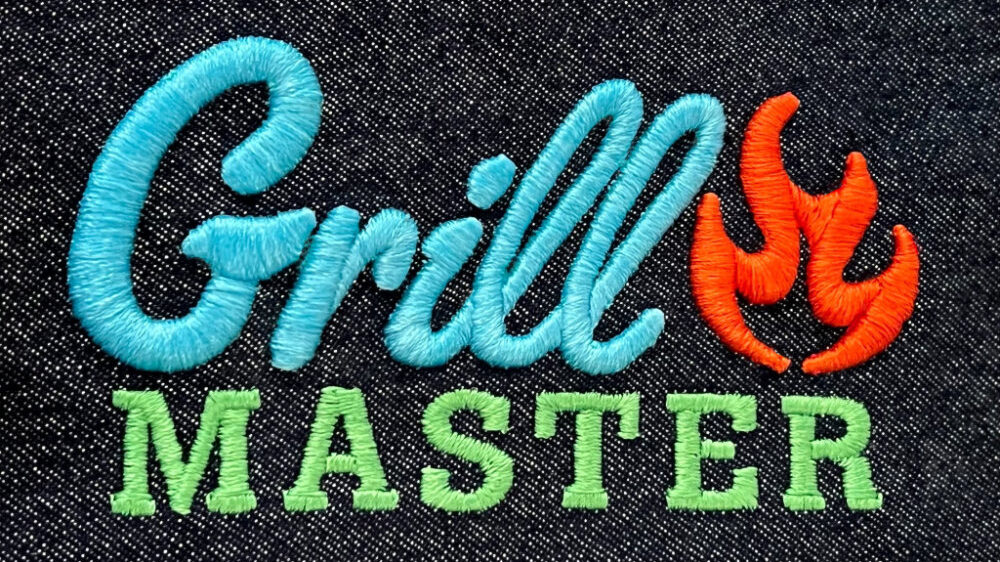
Use high density, embroidery specific puff foam in order to achieve the best results and get the tallest text. Select a high-density 3D foam from your favorite embroidery supply store or local dealer and you should be in business. Remember, embroidery foam comes in different thicknesses and colors. We used a 2mm thick embroidery foam and two colors of foam that match as close as possible to the top thread color for each foam element in the pictured stitch-out of our Grill Master embroidery design.


This design is constructed to make the process simple. The first color stop in the design contains a simple ‘placement stitch’ showing you where you’ll place the two foam pieces required for this project. These placement stitches can make it easier to judge the size you need as well as the position; perfect if you are diving into your scrap bin for leftover pieces of foam from previous projects. This placement stitching is completely covered by the design, so the only thing you need to be sure of is that your foam scraps cover the placement stitching entirely.
The second color stop in the design is the topstitching for the “Grill” text. Once it is complete, you can tear away any portion of your ‘Grill’ foam that that intrudes on the area of the flame. After this, you’ll place the foam for the flame graphic and stitch its top-stitching. If you decide to use one piece of foam rather than color-matching your stitching, you can you can stitch both the second and third colors continuously.
The final color in the design contains the ‘MASTER’ lettering. This lettering is intended to be flat and should be stitched without any foam beneath. Lisa created the ‘MASTER’ text using the ‘Fire” font found in our PatchArtist product. If your favorite burger-builder has a different title in mind, like “Expert”, “Taste Tester”, or even “Aficionado” for the gourmet of your group, simply delete the word from the design and add your own text with any font you have installed in your Embrilliance software.
Note – Do not stitch the first two colors in this design without embroidery foam. Satin stitches used to cover and cut foam are significantly more dense than those used in traditional embroidery. Special stitches are also added as part of the underlay to cut and join the foam to create a clean finish. All of this is excessive for flat embroidery. Stitch as directed and stabilize properly with a sturdy cutaway stabilizer.
This 3D foam embroidery design is provided in our native .BE format, enabling you to save a stitch file for any embroidery machine. If you aren’t already an Embrilliance owner, we provide a free method to use our software called Express Mode that will not only allow you to use any of the wonderful free designs found in our project blog, but also enables you to install and create basic text treatments with fonts distributed in our popular .BX format produced by many embroidery design creators.
To learn more about Embrilliance Express and for the instructions and links you need to download, install, and use our software with our free project files, please click here.
You guys are the best at supporting your embroidery software. I am so glad that I bought Embrilliance as my first choice and as a first time embroiderer. I am always learning new features in the program and you always give us something new to experience. Thank you Lisa snd Brian!
Thank you for this! It’s so much appreciated.
Thank You I enjoy the software and going to add to mine when i have the extra money. One of the many options I love so much.