
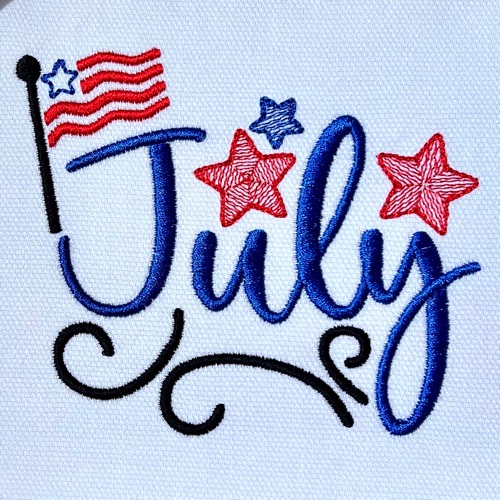
Our own Lisa Shaw continued her Monthly Free Design Series with a patriotic ‘July’ embroidery design ready for you to download! The patriotic theme is pretty popular during the summer months here in the USA and the art from Sanqunetti Designs was a perfect start. This design is great for any hostess gift that you bring to a backyard BBQ! It’s an excellent embellishment for aprons, kitchen towels, garden flags, or even gift basket liners! Be sure to check out the the post on February’s design to see how you can capture the star and flag “micro-designs” in this piece to use your other creations!

Using Printed Templates
Using printed templates helps you ensure precise placement for any design, no matter what you choose to embroider. Check out this video from our “How-To Helper” playlist for more tips on placement!
Printing Preferences
Here, we’re going to explore at least some of the printing preferences available in Embrilliance, so that we know the options most useful when customize our printed templates. We’ll discuss some of what you see in the Edit -> Preferences menu, under the Printing as tab shown below, but a full description of the print preferences can be found in the Windows or Mac PDF manuals found on our downloads page.

- Print with realistic rendering – this option is similar to the 3D view in the program. The “stitches” appear thicker, underlay is hidden, and jump stitches are not shown. Turning this off may use less ink because the “threads” are drawn as fine lines, but it’s more useful for the fact that the non-rendered view allows you to see jump stitches as dashed lines, making it easier to identify jump stitches.
- Print Color Sequence – lists the thread colors assigned to your design along with the number of stitches in that color AND an approximate measurement on how much thread will be used in that particular color. Could be handy to know especially if you are doing multiples of your design and want to make sure that you have enough thread for the project.

- Print Crosshairs – When you load a design to the machine, it is centered in the hoop (for most home machines). The crosshair lets you know precisely where the center of the design is by displaying a cross hair on your template. With this, you know exactly where that needle is going to be when you load the design. “X marks the spot” Check out our video on “neckline embroidery” to see this in action.

- Print Alignment Snowman – This feature is now available for those Brother/Babylock machines that have a camera that uses the ‘snowman’ sticker to align designs. All the option does is print the ‘snowman’ on the template so you can visualize where the design will stitch and when this template is on the workpiece and aligned as you expect, your machine can adjust the design’s placement and angle. If your machine does not have a scanner with snowman support, you don’t need to choose this option. Be sure to visit your local dealer if your machine does have a scanner with snowman support and you don’t know how to use it 🙂
The design is provided in our native .BE format, enabling you to save a stitch file for any embroidery machine. If you aren’t already an Embrilliance owner, we provide a free method to use our software called Express Mode that will not only allow you to use any of the wonderful free designs found in our project blog, but also enables you to install and create basic text treatments with fonts distributed in our popular .BX format produced by many embroidery design creators.