
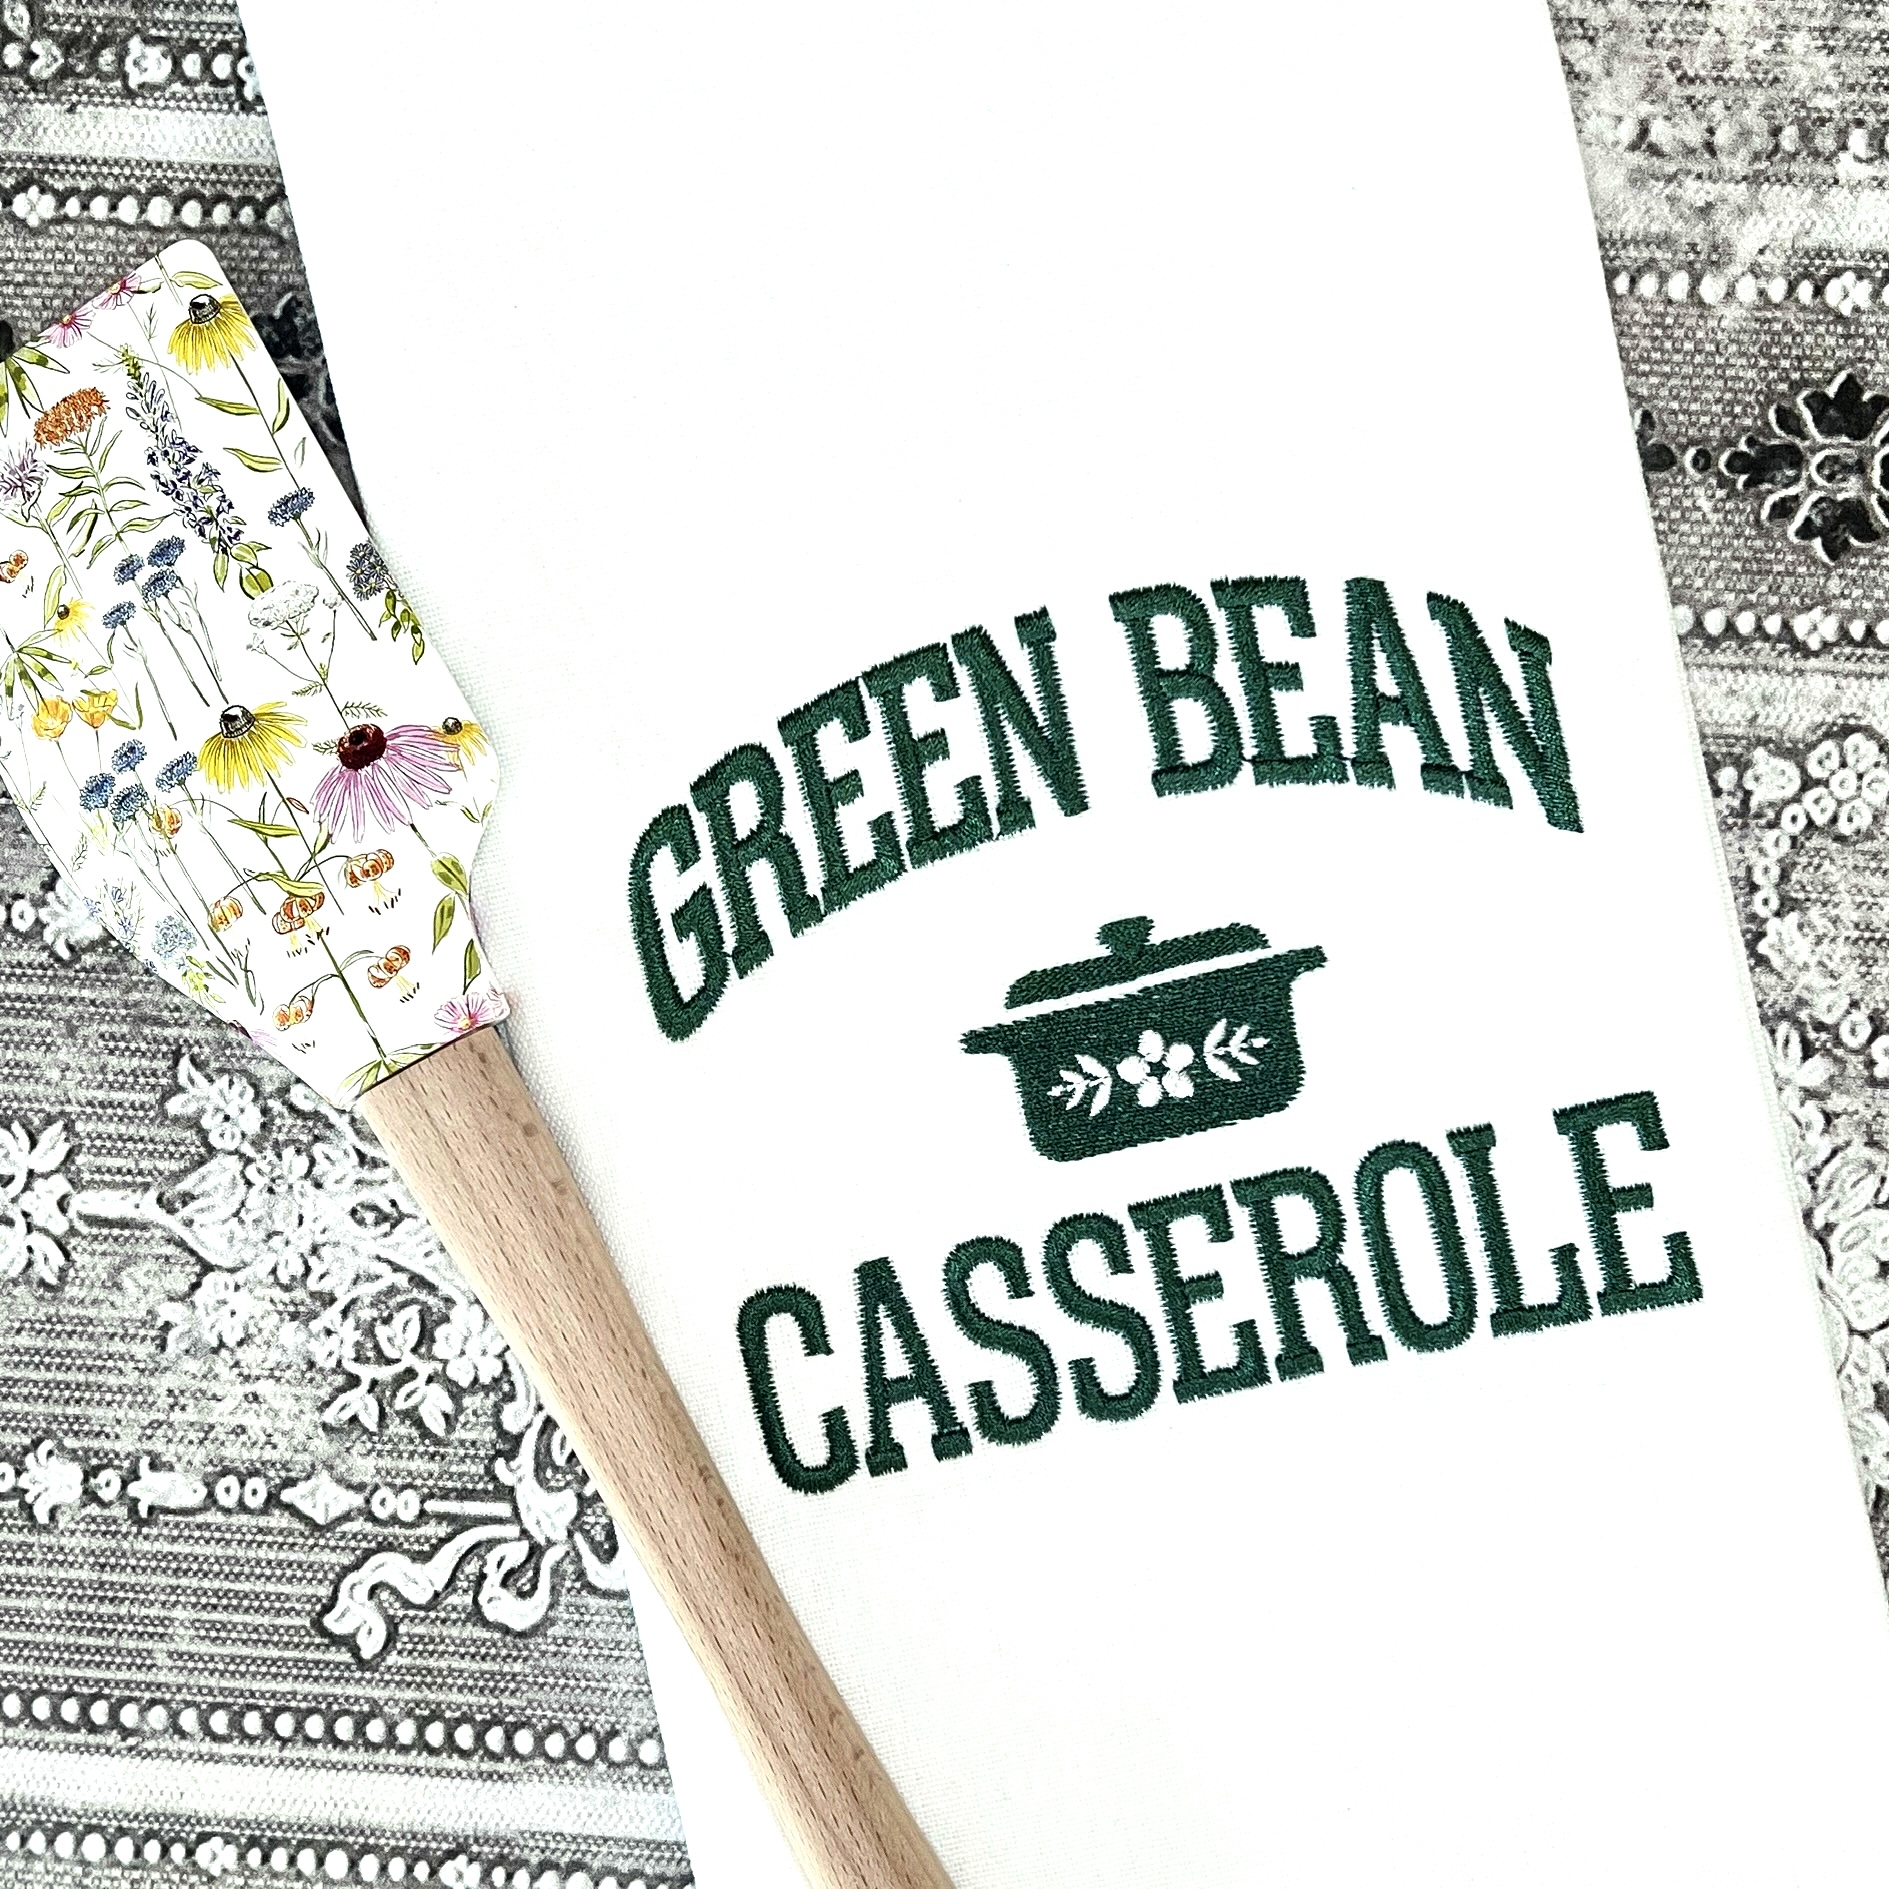
With sweater weather upon us and the holiday season looming, the crock-pot and those iconic casserole dishes can’t be far behind! Our Lisa Shaw saw a varsity-themed take on the celebrated green bean casserole and wanted to join in on the fun! She created the design you see below, but added a host of fun icons you can use instead of that well-loved dish and made the design into a template you can customize using your favorite BX font! She opted for a classic kitchen towel, but you might want to enlarge this piece to stitch on a comfy sweatshirt to wear while watching the game. This design is perfect for potlucks, but you can turn this template into a totally custom collegiate piece with ease!

Customizing (more than your Casserole)
The lettering in this template uses our text-warping ‘Envelope‘ tools. If you’ve never used our Envelopes, click here to get a free simple envelope library and the detailed instructions on how to use them! Envelopes are shapes created using StitchArtist that, when applied to Lettering objects, warp the letters to fit the envelope’s shape. In this case, we have a ‘Bridge Up’ Envelope for the upper bridged text and a standard rectangular envelope for the bottom text.

Setting up a Lettering Object for an Envelope
Looking at this template, you’ll see that each word and the Casserole Dish icon each has it’s own ‘design’ in the object tree. This is so you can easily swap the center design and/or make changes to the individual words.
Looking at the top text, you can see the ‘Bridge Up‘ design contains an Envelope named ‘Envelope 2‘. To assign a lettering object to an Envelope, add the lettering object anywhere after the Envelope in the object tree, then add the number of the Envelope to which you want the lettering attached to the name. For the Bridge Up, that means our lettering object will be named ‘Letters 2′. To rename an object, left click on the object’s name in the tree and edit as any normal text. Once you’ve renamed it, press the Enter key and click anywhere in the background of the design page to see the text fill the Envelope. For this project, we selected the PA Fire font from PatchArtist – if you have PatchArtist, you can use the same font for customization, but if you don’t, have no fear! You can use your favorite BX font in place of PA Fire to add your own lettering, just keep it all caps if you want to maintain that varsity style!
Short Words might need a little ‘Realignment’
By default, anything you type into these envelopes will stretch to fill the Envelope shape. This works great for words and phrases of a similar length or longer than what we have in the template, but may need a small alteration for much shorter words and phrases. In the example below, you can see that a short word might look a little comically stretched when filling the entire area of an envelope. In this example, it looks like ‘DISH?’ might be a little more massive than we intended.

We can choose to center the lettering in the envelope and only stretch it vertically by adding the -c tag within our lettering object name. In the case of the ‘DISH?’ lettering, we want it to attach to ‘Envelope 1’, so the name of that lettering object should read Letters -c 1 . That said, if we start with our letters much shorter vertically than our envelope we’ll get a tall, narrow version of our word as they only stretch vertically. In the example below, ‘DISH?’ is stretched a little thin. Luckily, there’s an easy fix.

To avoid this, we can select our lettering object, drag the corner handle, and scale the lettering closer to the height of our envelope. This reduces the distortion greatly for centered text.

Dishing Out a new Middle Design
Lisa has included a set of awesome icon designs that owners of Essentials, Enthusiast, or any StitchArtist level can use to create their own fun take on this trend. From the classic dishes and bowls, to a lovely turkey for the table, she made perfect varsity / chef crossover creations ready for your custom phrases.

Each of the above designs is included as a BE file in the download below. You can simply select the ‘Casserole Dish‘ design from the Green Bean Casserole template and delete it, leaving you with a perfect spot to place or paste in one of these icons, or truly any design you like!

Whether you choose to open the replacement icon file, select the design, copy it, and paste it into your newly cleared template, or use the ‘File -> Merge’ commands to bring in a design directly on the template, it’s as simple as clearing a space and setting your new design into place.

All Fonts Welcome!
Just as the original post on the Envelope Library explains, if you have Essentials, you can choose any of your installed BX fonts to shape with the envelope, including all those stitch-based fonts! This BE file used the native PA Fire font from PatchArtist, and our last example uses PA Cycle, but if you do not have these fonts and want to change the text, simply choose an attractive selection from your own installed BX fonts.
The design is provided in our native .BE format, enabling you to save a stitch file for any embroidery machine. If you aren’t already an Embrilliance owner, we provide a free method to use our software called Express Mode. It will not only allow you to use any of the wonderful free designs found in our project blog, but also lets you install and create basic text treatments with fonts distributed in our popular .BX format produced by many embroidery design creators.