

If you are looking for a quick and easy project for the upcoming St Patrick’s day holiday, we’ve got you covered! Not only have we included a downloadable version of this fast-stitching design for those of you who want to get straight to embroidering, we have also included some powerful yet easy-to-follow Embrilliance Essentials education in the case you want to create a version of your own!
Using Free Library Designs
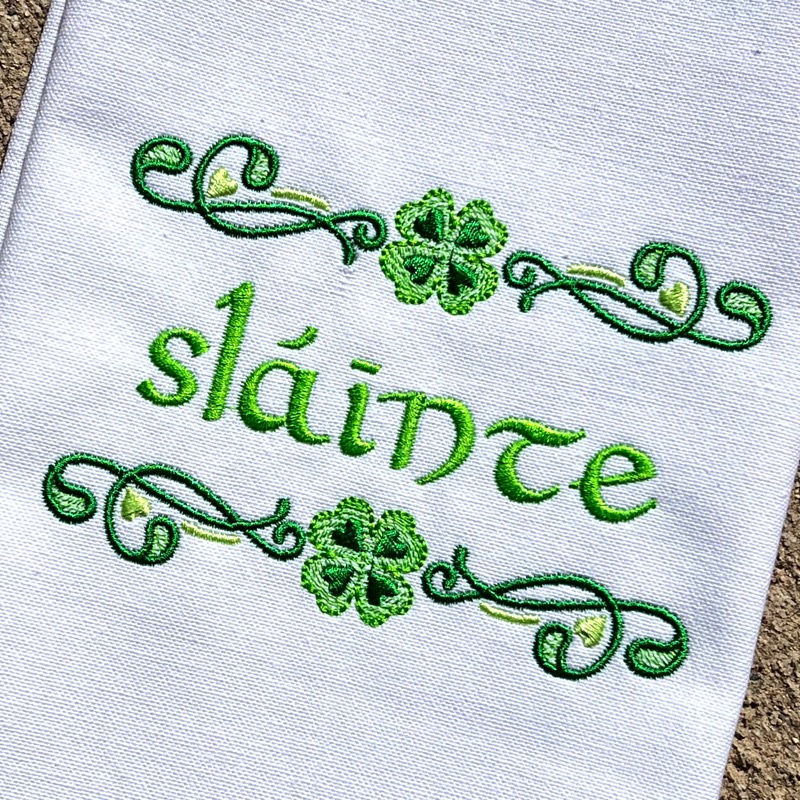
This Slainte design was created using one of the decorative border designs from her free Lucky Stitches design library created by our own Lisa Shaw! Find the original post including detailed instructions on how to install and access the library here. For this project, Lisa used the design named Border 2 from the library.

Creating the Border

o create the reflected border, the original design was placed, copied, pasted, and flipped into place. There are many ways to copy and paste from the standard keyboard shortcuts, ( ‘Control+ C or Option + C’ to copy and ‘Control + V or Option + V ‘to paste) to Edit menu commands, to the menu bar’s Copy and Paste buttons.

This short video clip shows how to use the Right-click popup context menu to copy and paste the design, following with the use of the horizontal flip button to create the mirror-image design that completes the top and bottom border of our free ‘Slainte’ design.
Alignment and Spacing
With that done, we can let’s line ’em up and space ’em out evenly. During our first step, we didn’t stress about making sure that these two borders line up perfectly. We can save time and energy by adding our name/word, changing the color to match others currently in use, and only then are using the Align & Distribute function to perfectly align and space our entire layout at once.

Adding Text
As seen in the video below, we start by clicking the Create Letters button to add our text in the font of our choice. For this design, Lisa used the familiar Monogram Wizard Fairytale font that we re-digitized and re-released as part of our Renaissance Faire collection. She then changed its color to match the medium green on the current design page. After that, she selected all 3 objects, being both borders and the text object, and used the convenient Align and Distribute icon to open the Align and Distribute dialog. She then clicked the option to Align Horizontally and applied the settings. After that, she moved on to the Distribute tab, selecting the options to have them Distributed Vertically by Spacing in the with the option to do so by the extent of the selection selected, after which she clicked OK to finalize the spacing.
In Conclusion
These simple steps are all it takes to make a simple border into part of a more complex layout. If you aren’t yet an Essentials user or just want to stitch the ‘Slainte’ design, you can simply download the design below. That said, the simple skills in the videos above can open up a world of easy customization if you decide to jump in and give the practice a try. Use your own designs and show us what you create!
The design is provided in our native .BE format, enabling you to save a stitch file for any embroidery machine. If you aren’t already an Embrilliance owner, we provide a free method to use our software called Express Mode. It will not only allow you to use any of the wonderful free designs found in our project blog, but also lets you install and create basic text treatments with fonts distributed in our popular .BX format produced by many embroidery design creators.