Some very special things happened in the winter of 2013 including the introduction of “moddies” or modify-able design libraries. We thought it would be nice as we transition to a new website, that we re-post these libraries from the Embrilliance User’s forum to our project blog for easier access. We will recap the original instructional post along with the design libraries. So here is the original post from our forum to explain what “moddies” are all about!
Hello Everyone!
I’ve been playing with some pretty awesome software this week getting ready for the holidays and testing features and functions at the same time. I really enjoy my job and I wanted to publicly say THANK YOU to Brian, David, Tim & Jim of the Embrilliance Team for making this past year a challenging yet wonderful experience. I also wanted to send a BIG THANK YOU to all of you for welcoming me into your machine embroidery software family.
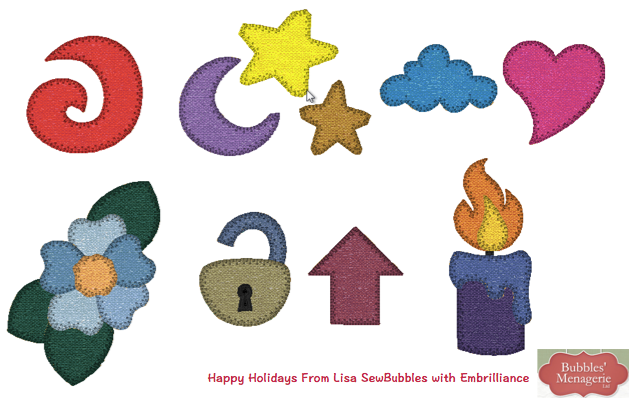
And in the Holiday Spirit, I wanted to give you a gift. A library file of appliqué embroidery designs that I created for the Embrilliance customizing programs (and for those that have not had too much egg nog – YES! YES! YES! this is a hint of exciting things to come 😁 ).
So, just like a mapped font that is in the BX format, you can install this to your Embrilliance software by dragging and dropping it onto your open program. You will get a message that the library has been installed.
Now when you go to Merge Library design,![]() in the top pulldown menu you will see a NEW library entry – when you select this, you will see the designs in this collection! You have no idea how exciting this is for me to tell you about this!!
in the top pulldown menu you will see a NEW library entry – when you select this, you will see the designs in this collection! You have no idea how exciting this is for me to tell you about this!!
To add one or more of these to your design page – select it and click Import
You now have the design in your design page! Expand the object list on the right and click on one of the elements that says Applique — look in the properties pane right below and you now have a tab called Applique! OMG, I am seriously getting butterflies telling you about this and showing you what you can do with these designs!

YES – you can change the style of the finishing stitch. I really love the E-stitch but if you prefer the satin stitch – try it out!
The Color Style of Traditional is what you would want to have the three step process using the appliqué position and material settings. Keep Color is an alternative option – see which you like better! Remember you can run a sew simulator to watch it stitch on screen.
PreCut is a setting used for actual appliqué dies or other precut shapes that can be purchased.
Questions to answers that I can think of right now — Yes you can resize these designs. Yes, you can copy and paste and merge and rotate and create something new. Make sure when you Save the Stitch file for your machine that the design will fit your hoop! Change to metric using the radio button – too big by .01mm will not work and the size is shown on the lower status bar.
I hope that you enjoy this collection of designs – a gift from me to you! One thing that I ask….. it is Christmas Eve here in the USA and many of us are celebrating with family and friends. I am posting this tonight because I personally celebrate with my family — so if you happen to have a problem or get an error message, please understand that I won’t be checking until Christmas Day which is when presents are supposed to be delivered ![]() The number one cause for a problem is going to be that you are not running the most current version. Try downloading the current version from the website and install it. If you have been working on the computer non-stop this week, try rebooting — I know, it sounds silly, but for whatever reason sometimes a reboot just solves the problem!
The number one cause for a problem is going to be that you are not running the most current version. Try downloading the current version from the website and install it. If you have been working on the computer non-stop this week, try rebooting — I know, it sounds silly, but for whatever reason sometimes a reboot just solves the problem!
In 2013, we gave out three libraries! So we thought that it would make things easier to include them all here in one zipped file.
Be sure to unzip the file before you try to install the BX. This is shown in our Quick Tip Video #5 if you are not familiar with the whole “how do I install a BX file into Embrilliance”.


