
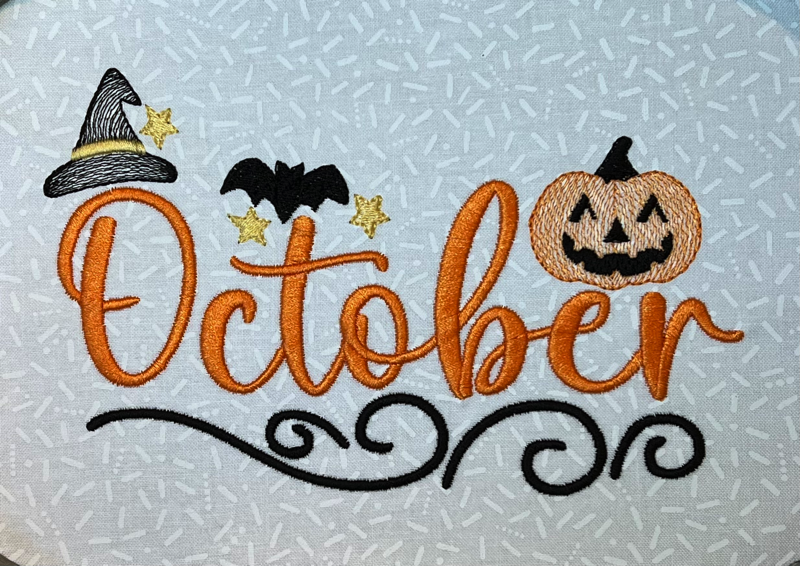
Our own Lisa Shaw completes her Monthly Free Design Series with a Halloween-themed ‘October’ embroidery design ready for you to download! The art from Sanqunetti Designs is adorned with symbols of the season: a witch’s hat, a bat, a jack-o-lantern, and a few simple stars. Be sure to check out the the post on February’s design to see how you can capture the various Halloween ‘mini-designs’ in this piece to use in your other creations!

As with all of the designs available in our project blog, we provide the BE working file for this design, allowing you not only to customize and save to any stitch-file format you need, but also letting you learn from the digitizing techniques used to create the design. The BE file gives users of StitchArtist access to the native objects, complete with the stitch properties, object shapes, line nodes, entry and exit points, and other features while in Create Mode.
Satin Columns and Lockstitches
One of the struggles embroiderers have with satin columns, such as those in satin lettering, is that after the embroidery is complete, sometimes it starts to unravel where the column ends. Though there may be a locking stitch, we can sometimes trim the jump stitches on the back side too closely. Moreover, we may find that simple friction from laundering or rubbing the stitches is enough to wiggle that knot loose since it is positioned at the very end of the satin column.

Entry and Exit Points
The entry point of an object, designated in create mode by the green bowtie icon, is where the machine will begin stitching that object. Usually, there is some sort of underlay which will stitch first. The underlay is covered by the satin stitches, meaning that even if this first few stitches is scratched at or rubbed, it will not unravel. However, the exit point of a satin column is often placed at the end of the satin finishing stitch, thus placing our locking stitch exposed at the utmost edge of the satin column. If, however, you manually move that exit point just inside the satin column, a very small distance from the very end, the last stitch will be placed inside the satin column, not at the very tip. This makes the lockstitch less likely to be picked at, caught, or otherwise disrupted. This makes a columns less likely to unravel.
Your Experience may Vary
When you digitize, it’s your personal experience with existing designs that guides you in your design creation. Moving a lockstitch into the column, or really any other adjustment, isn’t an unbreakable rule. That said, it’s worth taking the way stitches wear or how we finish them into consideration while creating designs. Think of the “pain points” you encounter as well as things that make you say “ooh, that’s cool” when you stitch designs and let that information help you level up your own digitized creations. If you understand how the embroidery works, how the machine works, and how it wears over time, you’ll know a lot about how you want it to stitch!
The design is provided in our native .BE format, enabling you to save a stitch file for any embroidery machine. If you aren’t already an Embrilliance owner, we provide a free method to use our software called Express Mode that will not only allow you to use any of the wonderful free designs found in our project blog, but also enables you to install and create basic text treatments with fonts distributed in our popular .BX format produced by many embroidery design creators.